If there's one job where the gap between what a garage charges and what it actually costs is almost insulting, it's the oil change. You can easily get billed over 100 EUR for something you can knock out on a Saturday morning, with the same oil — or better. A quality synthetic 5W30 or 5W40 and a filter for your specific car will set you back under 40 EUR, and they'll often be a cut above the generic stuff that fast-fit place throws in.
And here's the real bonus: this is the perfect gateway into looking after your own car. There's no dark art to it — the first time you slide under the car it feels a bit weird, we'll admit that, but by the second time you won't think twice. Before you start, look up your exact model online: oil spec, quantity, drain plug torque, and filter reference. The two things we don't sell are the oil and the filter — buy those to match your car — but everything else, all the tools, you'll find right here.
What You Need for an Oil Change
- Oil + oil filter (buy these separately, matched to your exact car).
- To lift the car safely: a trolley jack (or a bottle jack / scissor jack) and — this is non-negotiable — a set of axle/jack stands to actually support the car. If you want the quicker route, ramps do the job nicely.
- Or without lifting at all: an oil extractor/pump that sucks the oil out through the dipstick tube — no getting underneath required.
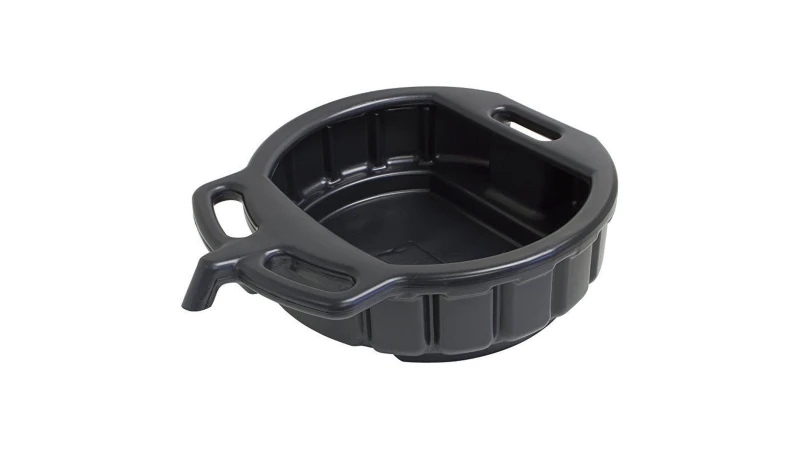
- To catch the used oil: a drain pan or a TSX TOOL handled container.
- The drain plug socket (a sump plug socket set covers pretty much every car out there).
- A replacement magnetic drain plug and a fresh washer (you'll see why in a moment).
- An oil filter wrench (either a cup-type set or a three-claw version).
- A funnel to fill without making a mess (a proper funnel kit is worth it).
- A solid socket set: the 94-piece ratchet set has basically everything you'll reach for.
Step by Step (Classic Method: Lifting the Car)
- Warm engine, not boiling. Oil drains better when it's had a gentle run, but if it's scalding hot, give it twenty minutes. Car on flat ground, handbrake on.
- Lift the car and make it safe. Jack up at the correct lifting point and slide in the axle stands; lower the car onto them. Never work under a car held up only by a jack — the jack lifts, the stands hold. (With ramps you skip the jack altogether.)
- Drain the oil. Find the drain plug on the sump, slide the drain pan underneath, loosen with the right socket, and let it all pour out. Watch out — it can still be hot.
- Change the filter. Use the oil filter wrench to unscrew the old one (expect a bit more oil to come with it). Before fitting the new filter, smear a little fresh oil around its rubber seal — it's the step most people skip, and it's the one that prevents leaks and stops the filter seizing solid next year. Tighten it by hand only, never with a wrench.
- Close the sump. Fit the new drain plug — go for a magnetic one — with a fresh washer and tighten to your car's correct torque. Don't go gorilla on it or you'll strip the thread; if the thread's already gone, there are repair kits for that too.
- Fill with fresh oil. Use the funnel, pour in the amount your car specifies, take it steady, and check the level on the dipstick.
- Start the engine and check. Let it idle for a minute, shut it off, look for any seeps around the drain plug and filter, wait a couple of minutes, then check the level again.
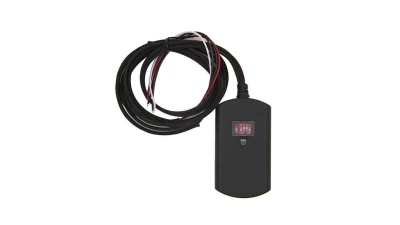
- Reset the service reminder. Most modern cars flag a maintenance warning after an oil change. To clear it on almost any make — and run a full diagnostic while you're at it — our go-to tool is the Konnwei KDIAG scanner: compatible with over 31 brands, it lets you select your vehicle, do the service reset, and diagnose any fault codes. If you only work on VAG group cars (VW, Audi, Seat, Skoda), the budget OBD2 service reset tool does the job just fine.
- Recycle the used oil. It's seriously harmful to the environment — take it to a recycling point or a garage that accepts it. Never down the drain or in the bin.
Alternative: Changing the Oil WITHOUT Lifting the Car
If getting under the car isn't an option for you, there's another way: extract the oil from above by feeding a tube down the dipstick hole and sucking it out. You've got the 12 V electric pump (clip it to the battery and it does all the work), the 9 L manual extractor (pump it to create a vacuum and it draws the oil up on its own — brilliant for boats too, where this is often the only way to do it), or a simple 500 cc suction syringe for smaller volumes. Bear in mind you'll still need to change the filter either way — though on many cars it's reachable from the top.
Why a Magnetic Drain Plug?
As your engine runs, it sheds tiny metal particles. A magnetic drain plug pulls those particles in and holds them at the plug instead of letting them circulate around your engine. At the next oil change you wipe it clean and, as a side benefit, you can see exactly how much metal your engine has been shedding — a genuinely useful health indicator. It costs next to nothing and it's well worth fitting, especially on certain cars and bikes. Just make sure you get the exact thread size for your sump (we stock the full range, from M12 to M20).
Bottom Line: You Save Money from the Very First Change
Doing your own oil change pays off straight away, and if you've got more than one vehicle the savings stack up fast. More than that, it's the perfect way to start feeling comfortable working on your own car and tackle other maintenance jobs yourself. At SatKit you'll find everything you need — jacks, axle stands, ramps, drain pans, extraction pumps, oil filter wrenches, magnetic drain plugs, funnels and socket sets — everything except the oil and the filter. Have a browse through our workshop tools section and do your next oil change yourself.